
Forestry knowledge · Using farm and woodland timber
Farm and woodland timber.
What could yours
become?
Have a repair, fencing or building project in mind? Explore whether your own timber could suit the job, what needs checking and who can help you take the next step.
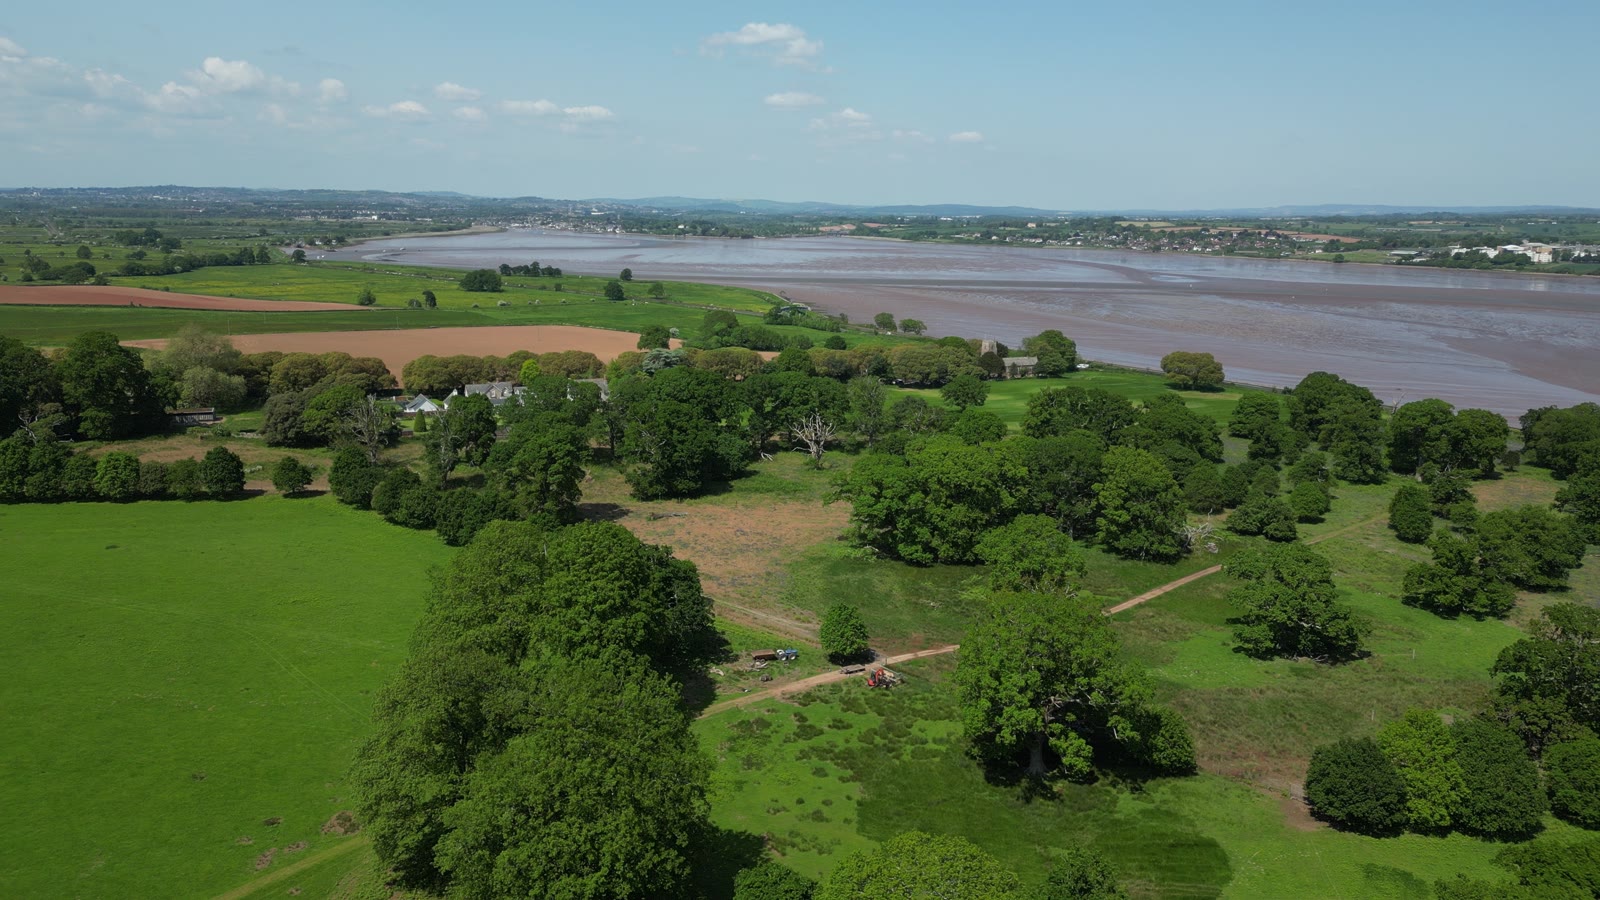
Start with one useful job ↓Original National Sawmills imagery. Landscape context; no site-specific timber assessment is implied.
Begin with what you need
One job is enough
to start exploring.
Using farm and woodland timber starts with a match: a suitable source of wood, a useful job and a workable route between them. You can explore that match before committing to felling or buying equipment.
01 · A REPAIR
What needs replacing?
First, photograph the job. Then note the pieces and sizes you need, and whether the timber will be indoors, exposed to weather or touching the ground.
Explore the fencing example and costsClick to expand
A real quantity to picture · One-hectare fencing example
One field.
What would you need?
Suppose you want to fence a 100 m × 100 m field, with one 4 m gateway halfway along one side. That is one hectare—about 2.47 acres.
Measure the boundary,
not just the area.
A 200 m × 50 m field is also one hectare, but has a 500 m boundary. Shape, slopes and internal divisions change the quantity.
Practical quantity estimates for flat, straight runs. Diagram is schematic; gateway enlarged. Confirm the final layout with your fencing contractor.
Your timber. A local sawyer. What could the milling cost?
For example, a contractor with a Peterson sawmill could turn suitable logs into the sawn posts and rails for your project. National Sawmills’ planning figures below describe sawn timber output, not log input. These are practical estimates.
Indicative operator-and-mill day rate: £400–£550 excluding VAT. For this illustration, the same range is applied to each mill and charged in whole days, with a one-day minimum. Confirm the actual machine, minimum booking, travel, setup, handling and what the operator includes. Eight productive milling hours are assumed: setup, breaks, log changes, defects and small-section cutting can reduce daily output and add days.
Every buying-versus-milling figure below excludes VAT for a consistent comparison. Supplier baskets above retain their advertised VAT-inclusive prices. The differences shown are budget headroom before additional costs—not net savings.
Your field · Your fence · Practical costs
One field. What would you need?
Change the measurements to estimate your fencing quantities and costs.
1 · Enter your field size
Click or tap a number to change it. Starts at 100 × 100 m with one 4 m gateway.
2 · Compare your fencing options
Practical estimates · excluding VAT. These are partial material and milling costs. Add timber value, preparation, treatment where required, braces, gate assemblies, fixings, delivery and installation. Stock netting is not a horse-fencing specification.
Layout, prices & milling assumptions
One rectangular field, flat straight runs, one gateway halfway along a length side. Four corners and two gateway ends. Stock netting: six 2.4 m × 200 × 200 mm oak strainers plus 1.8 m × 100 × 100 mm sawn intermediate posts at gaps no greater than 3 m. Provisionally allow 10 braces, quoted separately. Bought intermediate-post reference is round 100 mm UC4 timber; it is a different specification from the square sawn option.
Post-and-rail: posts at gaps no greater than 1.8 m; three levels of 3.6 m × 100 × 38 mm rails; 2.1 m × 125 × 75 mm posts. Two gateway posts are excluded from the timber volume and purchase price and need a separate quote. Corners may need upgrades. Quantities round up on each of five straight runs; joints must land on suitable supports. Agree the final rail layout and animal-safety details with the contractor.
Netting: round up 110% of fence length to whole 50 m rolls. Rates from the existing October 2026 worked example, converted to ex VAT: oak strainers £82.94 ÷ 1.20; intermediate posts £11.27 ÷ 1.20; netting £78 ÷ 1.20 per roll; post-and-rail posts £10.93 ÷ 1.20; rails £8.69 ÷ 1.20. Supplier links remain in the original example below. Confirm current prices and durability specifications.
Practical sawn-output estimates: JP 1 m³/hour, WPF 2 m³/hour, ASM 4 m³/hour. Eight productive hours per day; whole-day bookings at £400–£550 per day, with a one-day minimum. Setup, handling, log changes and cutting difficulty can use the remaining time. Your own logs, extraction, travel and further preparation are additional costs. More log volume is needed than the sawn output; no recovery percentage is assumed.
Make the comparison work for your farm.
Your own-timber cost = timber value + felling/extraction and log preparation + operator/mill + any treatment or finishing + transport. Then add the remaining fence components and installation to either route. Also, your trees have a value even if you already own them.
Start by sending a local sawyer the field plan, cutting list, log photos and access details. Ask: “Can my logs produce these sections, how many booked days would you allow, and what else will I need to pay for?” The required log volume will be greater than the sawn-output volume; no recovery percentage is assumed here.
Milling rates and the £400–£550 day-rate range are practical estimates, dated 8 October 2026. Confirm a local quote and equivalent durability before choosing a route. Where VAT applies, add it consistently to both options.
What goes into the installed price?
Listed materials + the missing components + delivery + preparation + installation. Both figures above are partial material baskets, not complete fencing quotes.
- Gate, hanging/slam posts, hinges, latch and any corner-post upgrades.
- Braces or struts, wire fittings, staples or rail fixings, and any additional wires or electric offset required by the agreed design.
- Delivery, clearing or removing old fencing, machinery, ground preparation and labour.
- Extra material for damage, defects and the final cutting plan. Compare all quotes on the same VAT basis.
Example retail prices checked 8 October 2026. Follow the supplier links for the quoted items and Google links to compare alternatives. These are practical price estimates. Check current prices, availability, bulk discounts and delivery with the suppliers.
How the quantities are calculated
Fence runs, posts and rails
Fence runs: 100 + 100 + 100 + 48 + 48 = 396 m. Round the number of gaps up separately on each run.
Stock intermediate posts: 3 × (ceil(100 ÷ 3) − 1) + 2 × (ceil(48 ÷ 3) − 1) = 129. Add the six shared corner/end positions once. The Conservation Handbooks guidance describes typical 2–3 m intermediate spacing for mild-steel stock netting; the chosen system and site still govern the layout.
Post-and-rail: 3 × ceil(100 ÷ 1.8) + 2 × ceil(48 ÷ 1.8) = 222 gaps. The open fence line needs 223 post positions: 221 line/corner posts plus two gateway posts. For each rail level: 3 × ceil(100 ÷ 3.6) + 2 × ceil(48 ÷ 3.6) = 112 lengths. Three levels need 336 lengths before any additional wastage allowance. Rail joints must land on suitable supports; agree joint details before ordering.
02 · A BUILDING
What must the timber do?
Ask the designer or engineer for the required sizes, strength, moisture condition and any treatment. Next, agree how suitability will be verified before logs are cut.
Explore the outbuilding cladding example and costsClick to expand
Your building · Your quantities · Practical costs
What would it take to clad your outbuilding?
Enter your dimensions in metres. Compare the timber needed for board-on-board and hit-and-miss cladding, then explore buying boards or milling your own suitable timber.
Change the dimensions to suit your building
Click or tap the numbers below to enter your own measurements. Quantities and costs update as you type. The starting example is 20 m long × 20 m wide × 10 m wall height.
Four rectangular walls are included. Use the wall height to the eaves. Roof covering and gable triangles are excluded. Deduct the combined area of doors and windows below.
Board layout: 25 mm thick × 150 mm wide boards. Board-on-board uses 150 mm back boards with 100 mm gaps and 150 mm covers, overlapping 25 mm on each edge. Hit-and-miss uses one layer with 25 mm open gaps. Covered and open walls serve different purposes; agree weather protection, ventilation, supports, board lengths and fixings with your designer.
Price basis: Douglas fir £16.97 and larch £18.85 per m² of board face, from the January 2026 supplier price list. Practical price estimates; confirm current prices, sizes and grade. All calculator costs exclude VAT.
Milling basis: practical sawn-output estimates of JP 1 m³/hour, WPF 2 m³/hour and ASM 4 m³/hour; eight productive hours per day; whole-day bookings at £400–£550 per day, with a one-day minimum. Setup, handling, travel and the actual cutting list need agreeing with the sawyer.
Build your full budget: bought boards still need delivery, supporting rails, fixings, any membrane or trims, access and installation. Using your own timber also involves its value, harvesting or extraction, handling, drying and any further preparation. Compare equivalent finished timber. The difference between a board price and a milling charge is not a net saving.
Quantities show total board length, not a count of stock boards. Your entries stay on this page and are not sent or saved. The fixed worked example below always uses the original 20 × 20 × 10 m dimensions.
Original worked example · 20 × 20 × 10 m
A practical quantity · Farm outbuilding cladding
One outbuilding.
How much cladding?
Take an outbuilding 20 m long × 20 m wide × 10 m wall height. This example covers all four rectangular walls. No doors or windows have been deducted; roof covering and any gable triangles are outside the calculation.
Measure the walls,
then allow for the boards.
4 × 20 m × 10 m = 800 m². Add a practical 10% allowance for cutting and selection: 800 × 1.10 = 880 m². Therefore, measure openings before making a final cutting list.
Two styles.
Different amounts of timber.
For this comparison, board-on-board means two layers of vertical boards with covered gaps. Hit-and-miss means one layer of vertical boards with open gaps for airflow. Trade names vary: use the layouts and dimensions below when asking for a quote.
Both options use 25 mm thick × 150 mm wide rough-sawn boards, the same 800 m² gross wall area and the same 10% cutting and selection allowance. These are practical estimating layouts; final spacing and fixings belong in the building design.
Style A · Board-on-board
Covered gaps.
More timber.
Back boards: 150 mm wide with 100 mm gaps. A second 150 mm board covers each gap, overlapping each edge by 25 mm. Two boards use 300 mm of timber width for every 250 mm of wall width.
1.20 m² of board face per m² of wall, before the 10% allowance. Covered joints give greater screening, but the complete wall still needs appropriate weather and moisture detailing.
Style B · Hit-and-miss
Open gaps.
Less timber.
One layer of 150 mm boards with 25 mm clear gaps. Each board-and-gap repeat covers 175 mm of wall width. The openings occupy about 14.3% of this illustrative layout, before supports and other obstructions.
0.857 m² of board face per m² of wall, before the 10% allowance. However, open gaps admit air and some weather. The required ventilation depends on the building’s use, contents and exposure.
What changes in the cutting list?
| Quantity | Board-on-board | Hit-and-miss |
|---|---|---|
| Gross wall area | 800 m² | 800 m² |
| Board-face area to allow | 1,056.00 m² | 754.29 m² |
| Total board length | 7,040.00 m | 5,028.57 m |
| Sawn board volume | 26.40 m³ | 18.86 m³ |
In these layouts, hit-and-miss uses approximately 28.6% less timber. That is a quantity comparison, not a reason to choose an open wall where weather protection is needed.
Buying the boards: cost by style and species
Using the Larch Cladding Company’s January 2026 rough-sawn price list: 25 mm Douglas fir £16.97/m²; 25 mm larch £18.85/m². Rates apply to full board-face area. All costs below exclude VAT, delivery and installation.
| Timber | Board-on-board total | Hit-and-miss total | Difference in board cost |
|---|---|---|---|
| Douglas fir | £17,920.32 £22.40 per m² of wall | £12,800.23 £16.00 per m² of wall | £5,120.09 |
| Larch | £19,905.60 £24.88 per m² of wall | £14,218.29 £17.77 per m² of wall | £5,687.31 |
Practical price estimates using the dated supplier list, checked 25 October 2026. Costs use unrounded quantities. Confirm the area basis, available sizes, grade and current quote with the supplier.
Using your own timber: milling costs by style
Practical estimates using JP 1 m³/hour, WPF 2 m³/hour and ASM 4 m³/hour; eight productive hours per day; whole-day bookings at £400–£550 per day excluding VAT. These are the same planning assumptions used in the fencing example.
| Mill | Board-on-board · 26.40 m³ | Hit-and-miss · 18.86 m³ |
|---|---|---|
| JP | 26 hours 24 minutes of cutting time · 4 booked days £1,600–£2,200 | 18 hours 52 minutes of cutting time · 3 booked days £1,200–£1,650 |
| WPF | 13 hours 12 minutes of cutting time · 2 booked days £800–£1,100 | 9 hours 26 minutes of cutting time · 2 booked days £800–£1,100 |
| ASM | 6 hours 36 minutes of cutting time · 1 booked day £400–£550 | 4 hours 43 minutes of cutting time · 1 booked day £400–£550 |
However, less timber does not always reduce the booked days. Ask the sawyer to price the actual cutting list, log handling, setup and expected output.
What else goes into the installed cost?
| Cost item | Board-on-board | Hit-and-miss |
|---|---|---|
| Timber boards | Two layers; larger cutting list | One layer; smaller cutting list |
| Supporting rails and fixings | Quote for both layers and the agreed fixing detail | Quote for the agreed spacing and fixing detail |
| Installation labour | Setting out and fitting two board layers | Setting out and fitting one spaced layer |
| Other materials | Any membrane, flashings, trims, cavity detailing and treatment required by the wall design | |
| Access and delivery | Unloading, storage, access equipment and work at 10 m height need site-specific prices | |
Installed cost = boards + supporting system and fixings + other specified materials + delivery and access + labour. Where using your own logs, also include their value, harvesting, extraction, handling, milling and any drying or further preparation. The milling totals cover one part of that route.
Check the cladding quantities
Show the calculation and assumptions
Wall area: 4 × 20 × 10 = 800 m². With the 10% allowance: 880 m². Board-on-board: 880 × (150 + 150) ÷ 250 = 1,056 m² board face. Hit-and-miss: 880 × 150 ÷ 175 = 754.2857 m² board face.
Divide board-face area by 0.150 m for total board length; multiply it by 0.025 m for sawn volume. Multiply the unrounded board-face area by the species rate for board cost. Booked days round productive milling hours up to whole eight-hour days.
No doors or windows have been deducted. Roof covering and gable triangles are excluded. Final stock lengths, end details, joints and whole-board counts need a cutting plan. Neither option assumes continuous 10 m boards. Measure openings and any gables before ordering. More log volume is needed than sawn board volume; no recovery percentage is assumed.
At 10 m wall height, agree the supporting structure, wind-load resistance, fire requirements and access method with the designer and installer. Then ask them whether covered or open boarding suits the intended use. The 25 mm gaps here are a quantity assumption, not a ventilation design.
Terminology reference: iWood’s board-on-board layouts show covered-gap construction. The Shropshire Hills agricultural building guide describes spaced boarding for ventilation. The dimensions above are this example’s own assumptions.
03 · A SMALLER PROJECT
How will the grain behave?
For a table or workbench, start with grain direction, moisture condition and how the top will be attached. Plan for movement across the grain as the timber gains and loses moisture.
Explore grain action for tables and workbenchesClick to expand
A smaller project · Grain, movement and making
Read the grain.
Build room for movement.
First, look at the grain: it helps give a piece of timber its character. It also affects how the board behaves as it dries, responds to its surroundings and is worked. When making a table or workbench, plan for appearance and movement together.
Length and width
behave differently.
Solid wood usually changes much more across the grain than along it. As moisture content changes, a tabletop can grow or shrink across its width even after it has been dried and made into furniture.
However, the amount depends on species, how the board was sawn, its width and the moisture conditions it experiences. A broad top needs a movement allowance suited to those conditions.
Three things to read in your boards
01 · Direction
Follow the fibres.
First, check the face, edges and ends. Grain may run fairly straight, sweep around knots or reverse direction. Tell the maker where the timber came from and let them assess defects and the final layout.
02 · Growth rings
Look at the end.
For example, flat-sawn and quarter-sawn boards present the growth rings differently. Quarter-sawn material generally moves less across its width; it still moves. Ring orientation is one part of selection, alongside soundness and moisture condition.
03 · Condition
Check before joining.
First, have moisture content and flatness checked for the intended room or workshop. Allow material to adjust to suitable conditions before final machining. A dry-looking face does not establish the condition through a thick slab.
Making a table
Choose the look.
Let the top move.
First, lay the boards out before cutting. Compare colour, grain figure, knots and the position of any natural edges. For a long rectangular top, the grain commonly follows its length.
Then, when sound boards are edge-glued with their grain running in the same direction, treat the resulting top as one moving panel. Narrower boards can offer more layout choices, but gluing them together does not remove seasonal movement.
Next, agree a top-to-base fixing that allows movement across the grain, such as suitable tabletop buttons, clips or correctly orientated slotted fixings. Follow the chosen hardware and joinery detail.
Making a workbench
Plan the working face
and the fixings.
For a long-grain solid or laminated bench top, plan the strips, working face and joints around sound material. Consider where vices, dog holes and holdfasts will go before deciding the final cutting list.
Also, grain direction affects how a surface responds to planing. Around knots or reversing grain, the maker may need a different preparation method to avoid tearing the fibres.
In addition, a laminated solid-wood top still moves across the grain. Its base, vice mounting and any end caps need details that accommodate that movement while keeping the assembly secure.
What commonly causes trouble?
| Design choice | What to plan instead |
|---|---|
| Fixing a wide solid top rigidly across its width | Allow the top to expand and contract across the grain at its connection to the base. |
| Gluing a cross-grain end cap along its full width | Use a suitable movement-accommodating joint; ask the maker to detail any breadboard ends or bench end caps. |
| Using a slab before its condition suits the room | Check moisture, drying and flatness before final machining and assembly. |
| Assuming attractive figure means easy working | Assess knots, changing grain direction and defects when choosing the face and preparation method. |
Plan the grain layout with your maker
Does alternating the growth rings stop a top moving?
No. Changing board orientation can affect the pattern of distortion, but it does not stop individual boards responding to moisture. Select suitable material, prepare it for the intended environment and detail the assembly to allow movement. Appearance, soundness and the intended working face matter too.
Is an end-grain work surface the same as a long-grain bench top?
No. An end-grain block top presents the ends of the fibres at the working surface and has a different layout and jointing arrangement. Do not apply a long-grain top’s construction detail automatically. Agree the design and fixing method with the maker.
Bring these to the maker: photographs of the board faces and ends, species if known, board sizes, drying and moisture information, intended location, and a sketch of the table or bench. Discuss the grain layout, final dimensions, joints, hardware and movement allowance together.
For the stage before furniture making, read our drying and storing sawn timber guide. The final furniture detail needs its own assessment; a forestry review does not establish a cabinetmaking design.
Sources for grain and wood movement
Sources and scope
Checked 25 October 2026. The USDA Forest Products Laboratory’s Wood Handbook, Chapter 13 explains moisture-related dimensional change and the effect of grain orientation. Its Storage of Lumber discusses shrinkage directions and differences between boards.
For making practice, see furniture maker Robert Wearing’s explanation of tabletop buttons, published by Lost Art Press, and Lee Valley’s table-leg instructions, which illustrate a movement-accommodating connection for a solid top. Hardware details are specific to the chosen system.
This section explains design choices rather than supplying a finished joinery plan. It does not assume a universal moisture target or a fixed movement allowance for every species and setting.
Your first action: make a short list of what you want to make, how much you need and when you need it.
Put the woodland first
What can it
sensibly supply?
A forester can help assess what is growing, which work is appropriate and what should remain. Ask about species, condition, access, habitats and future regeneration alongside potential timber.
The UK Forestry Standard provides the framework for woodland management. A need for boards does not, by itself, establish that a particular tree should be felled.
The Forestry Commission also advises owners to consider log quality and local markets together. A whole woodland will not produce one uniform timber product.
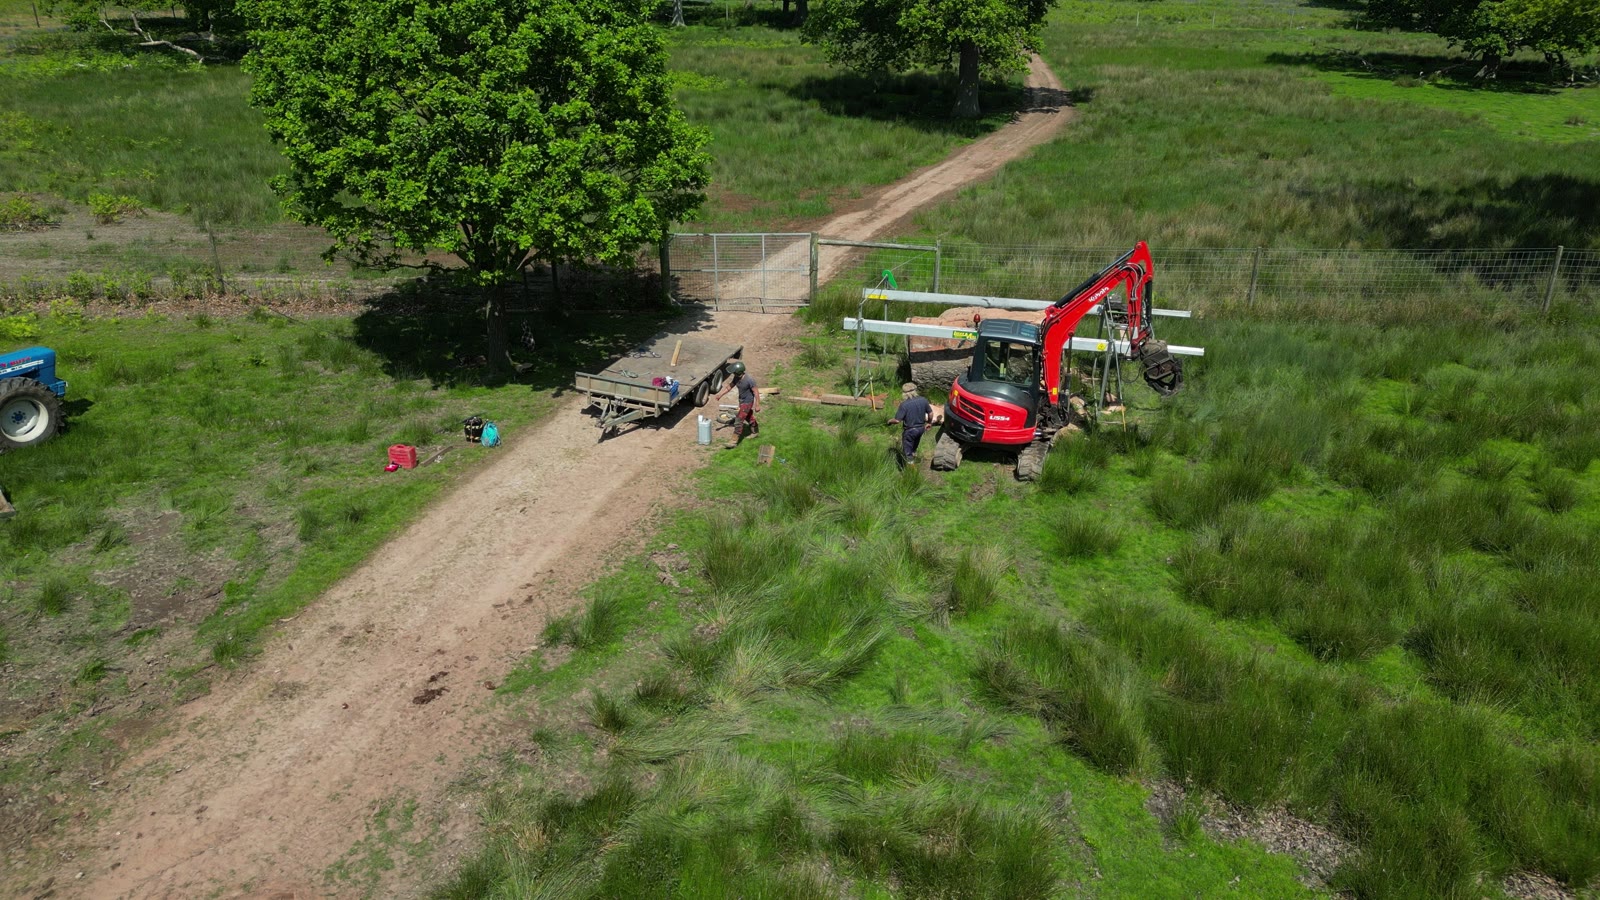
Permissions, woodland support and biodiversity
Check felling requirements in your country, along with tree protection, site and wildlife constraints. Ownership alone does not settle permissions. If you are a tenant, establish what your agreement allows.
Ask the relevant agency about current management advice and funding. For example, Scottish Forestry’s farm woodland guidance brings together advice and support for Scotland; it is not a UK-wide scheme.
Productive woodland and habitat objectives need a site-specific plan. Retaining habitat trees and appropriate deadwood may be part of that plan. Seek ecological advice where the proposed work requires it.
You do not have to do every stage yourself
Choose how the work
gets done.
A sawyer is the person who saws logs into timber. Share your project list and photographs with them, then compare practical routes.
Bring in a sawyer
We’ll connect you with your local Peterson owner. Share your location, log photographs and project list so you can discuss on-site milling.
Find a local Peterson owner →Use a sawmill
Contact us for a demonstration or contract sawmilling with training. Tell us about your logs, intended products and the skills you want to develop.
Arrange a demo or milling with training →Mill it yourself
Explore our Peterson portable sawmills and compare the models for your timber, workload and site.
Explore our Peterson sawmills →Buy timber or sell logs
Contact us to connect with your nearest forestry supplier. Let us know your location and whether you want to buy timber or sell logs.
Find your nearest forestry supplier →The Forestry Commission describes both mill-based processing and smaller-scale processing within woodland. Neither is the right answer for every site. Read its harvesting guidance ↗
Make the comparison fair
Farm and woodland timber:
compare the full costs.
For your own project, compare the full cost of producing timber that meets the brief with buying the same specification, delivered when you need it. For a business, also establish who will buy the output and on what terms.
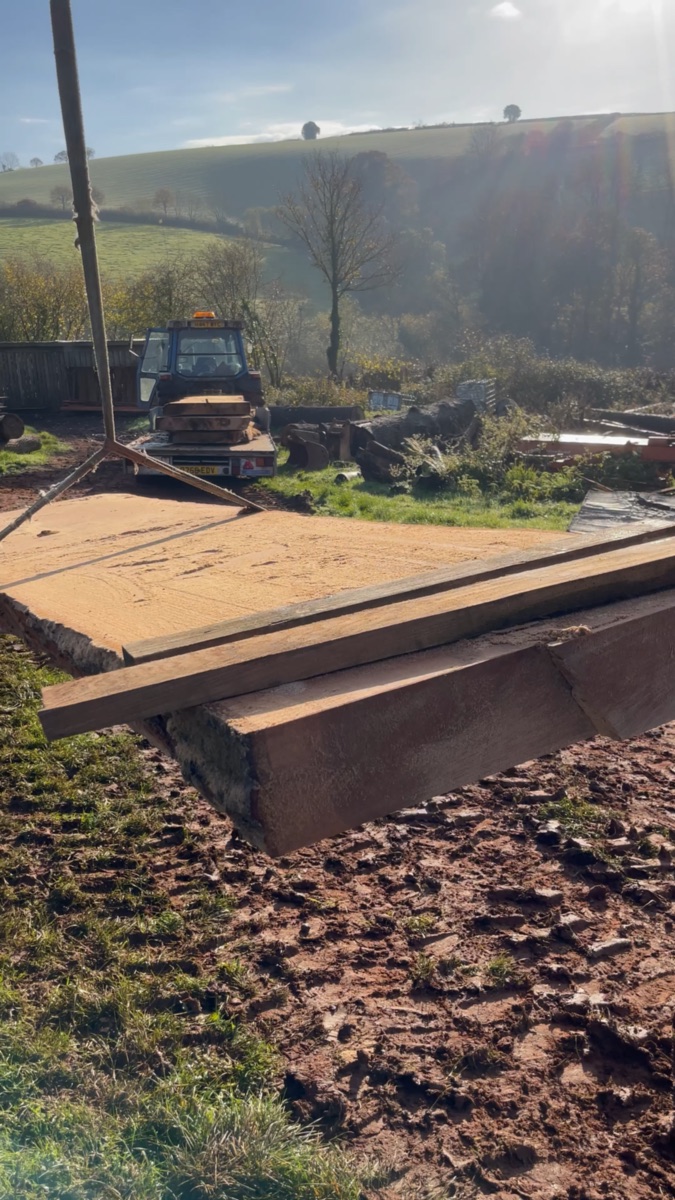
A sawn board still needs
to suit the job.
Finally, confirm the required finish, moisture condition and any grading before comparing prices.
Could selling timber become a farm enterprise?
Start with a buyer conversation. Ask local mills, timber merchants or makers which species, sizes, quantities and condition they accept. Check whether they buy logs or prepared timber, who collects and when payment is made.
The Forestry Commission’s timber-market guidance explains why product suitability matters, including strength grading for structural timber. Demand for one product does not guarantee a market for every tree.
Before investing, test a small, properly costed job. Record actual time, saleable output and all further preparation. Revenue is not profit, and a quoted retail price is not an assured selling price.
A question from a real farm project
Could producing timber
be part of the plan?
Our Stuart Summerell farm-building account describes exploring timber production while planning outbuildings. It records National Sawmills’ involvement in the process and equipment, with trees supplied by Grantland Farm.
The useful starting point is the question Stuart explored: could an available timber source serve the planned build? The account does not provide a complete, matched cost reconciliation, so its quoted purchase cost should not be treated as a demonstrated saving.
For your project: take the building specification to the sawyer and the person responsible for approving the timber. Establish the supply, processing and verification route together.
A manageable next step
Put these five things
in one note.
You do not need all the answers before asking for help.
If the trees are standing, begin with the woodland-management decision. If logs are already available, discuss their suitability with a sawyer. “Unknown” is a useful answer when it tells you what to check next.
These checkboxes are a reading aid; nothing is sent or saved.
Follow the timber
through its next stage.
Once the overall route looks workable, use the relevant guide for the detail.
Discuss a milling project
Have logs and a job in mind?
Our contract milling page explains the route for a milling enquiry. Bring your project note so the conversation starts with your timber and the result you need.
National Sawmills is the UK representative for Peterson Portable Sawmills. Equipment sales are part of our business; these options include using other processors and buying timber where appropriate.
Practical experience
& forestry review.

Jerry Andrada
Proposed author · Co-founder, National Sawmills. Approximately 17 years of practical experience spanning arboriculture, forestry, extraction and timber conversion.

Nick Backhouse, BSc Hons Forestry
Proposed forestry reviewer · Forestry graduate, Bangor, 1989. More than three decades of forestry experience within the working farm environment at Grantland.
Draft prepared for author and forestry review. Approval of earlier guides does not apply to this new page.
Sources, scope and review date
Sources checked 8 October 2026. This guide concerns choices for existing farm and woodland timber. It is not a planting plan, grant directory, structural specification or a forecast of income.
- UK Forestry Standard — management framework.
- Forestry Commission: harvesting timber from your woodland — timber quality, markets and processing routes, 11 September 2025.
- Forestry Commission: high-value timber markets — end-use requirements and grading, 29 April 2026.
- Scottish Forestry: getting started with farm woodlands — Scotland-specific advice and support.
- National Sawmills: Stuart Summerell’s project — attributed company account; financial outcome not independently established.
Photographs illustrate landscape, access and sawn material. They are not presented as photographs of Stuart’s project or as evidence of species, grade, yield or savings.